Ephys: Web GUI
Data can be ingested into the ephys pipeline in two different ways. All users are encouraged to use the web GUI. Advanced users may insert directly into the pipeline via Python or Matlab scripts.
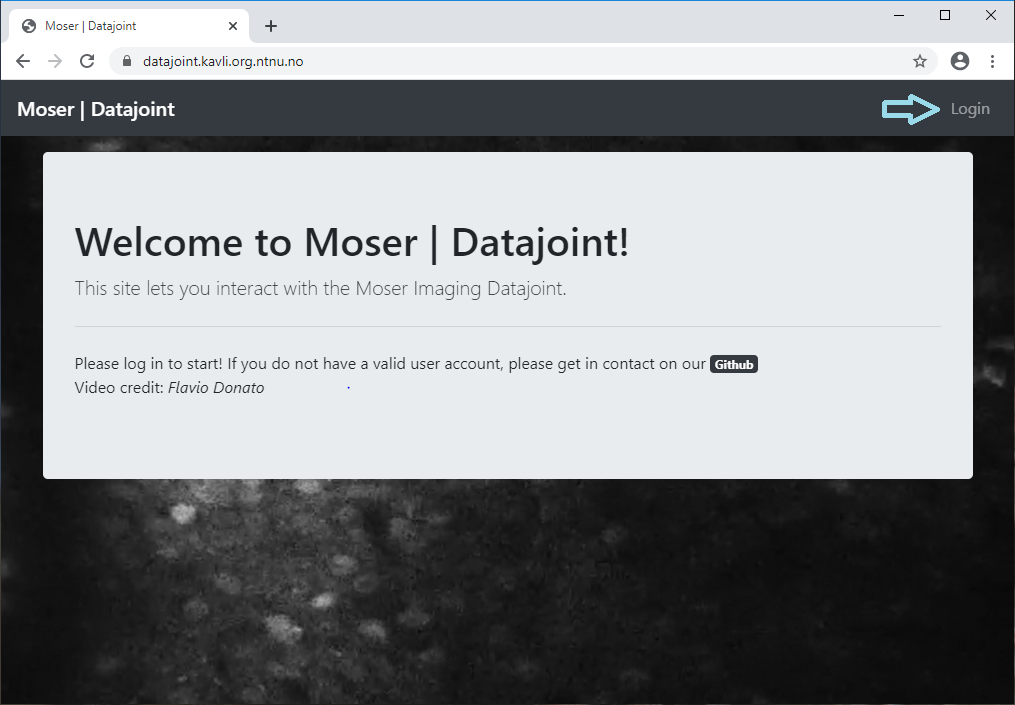
Logging in
Navigate to the Ephys Website. You must be connected to NTNU’s internal network to access it: if working from home, you will require a VPN connection active first.
The website requires authentication: this uses the same credentials you use to connect to the database in Python or Matlab.
Mandatory and optional fields
Fields marked in bold are mandatory. Fields marked with italics are optional
Working with a new subject
The ephys pipelines records the specific implants per subject.
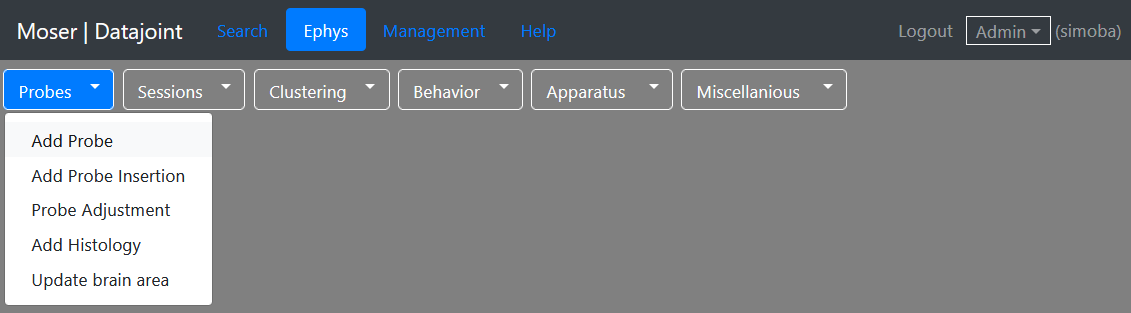
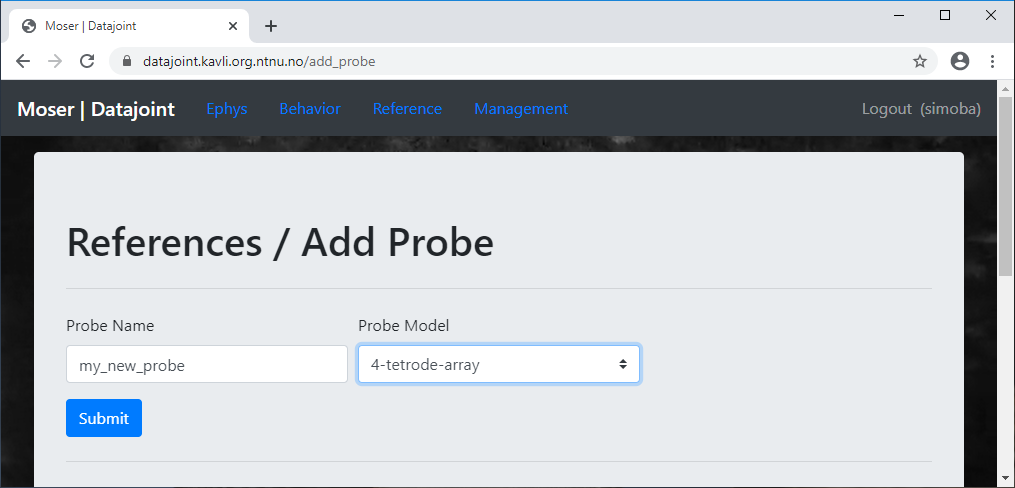
Create an instance of a probe - think of this as matching a probe uniquely identified by a serial number - and give it an identifiable name
Ephys -> Probes -> Add Probe
Select the appropriate kind of probe (4-tetrode array, 8-tetrode array, specific Neuropixels model)
Please consult the naming conventions page for the standard lab conventions on how to assign names.
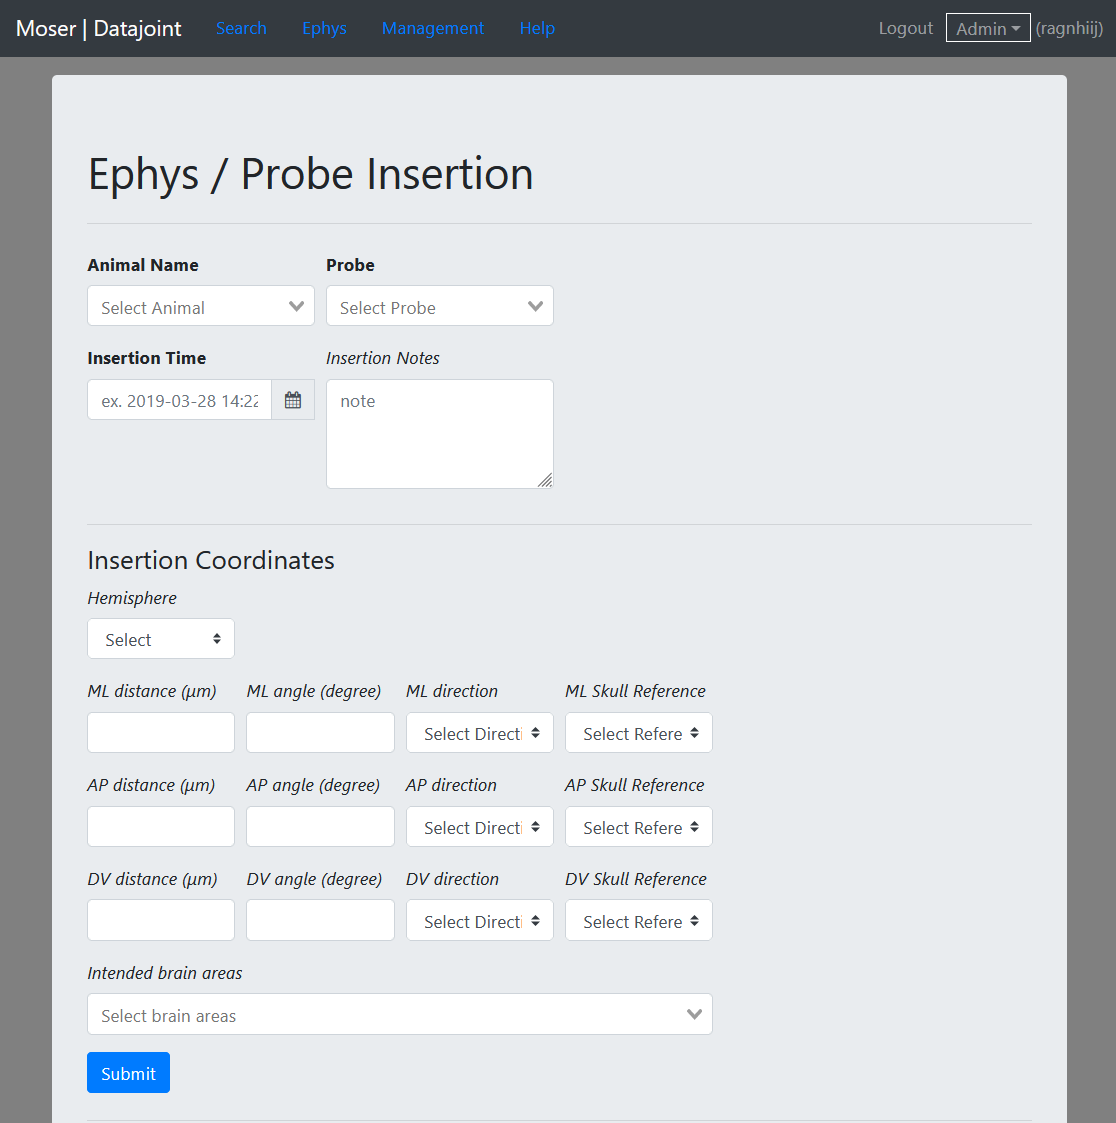
Record the details of the implantation of each probe
Ephys -> Probes -> Probe Insertion
The Select Subject and Select Probe drop-down menus will search automatically as you type, so you don’t have to scroll endlessly to find the entry you need.
Insertion Time is as
YYY-MM-DD HH:MM:SS(see common pipeline conventions). Time information is optional (it will default to 00:00:00), but if multiple probes are implanted, a different value must be entered, as this insertion time is used as a unique identity.Intended Brain Areas is a multiple-choice dropdown, and is intended to capture the entire set of brain areas that you expect the probe to record from. Actual brain areas can be added later, after analysing histology
(In the case of hyper-drive/tetrodes): Adjustments to the tetrode position can be recorded:
Ephys -> Probes -> Probe Adjustment
Estimate the depth change
Ingesting Sessions
See Ephys: Terminology for a discussion of what Session means within the Ephys pipeline, and how it differs from the Imaging pipeline
Once a subject implant has been recorded, the Session Ingestion becomes the main point of entry into the pipeline for all future data associated with that subject.
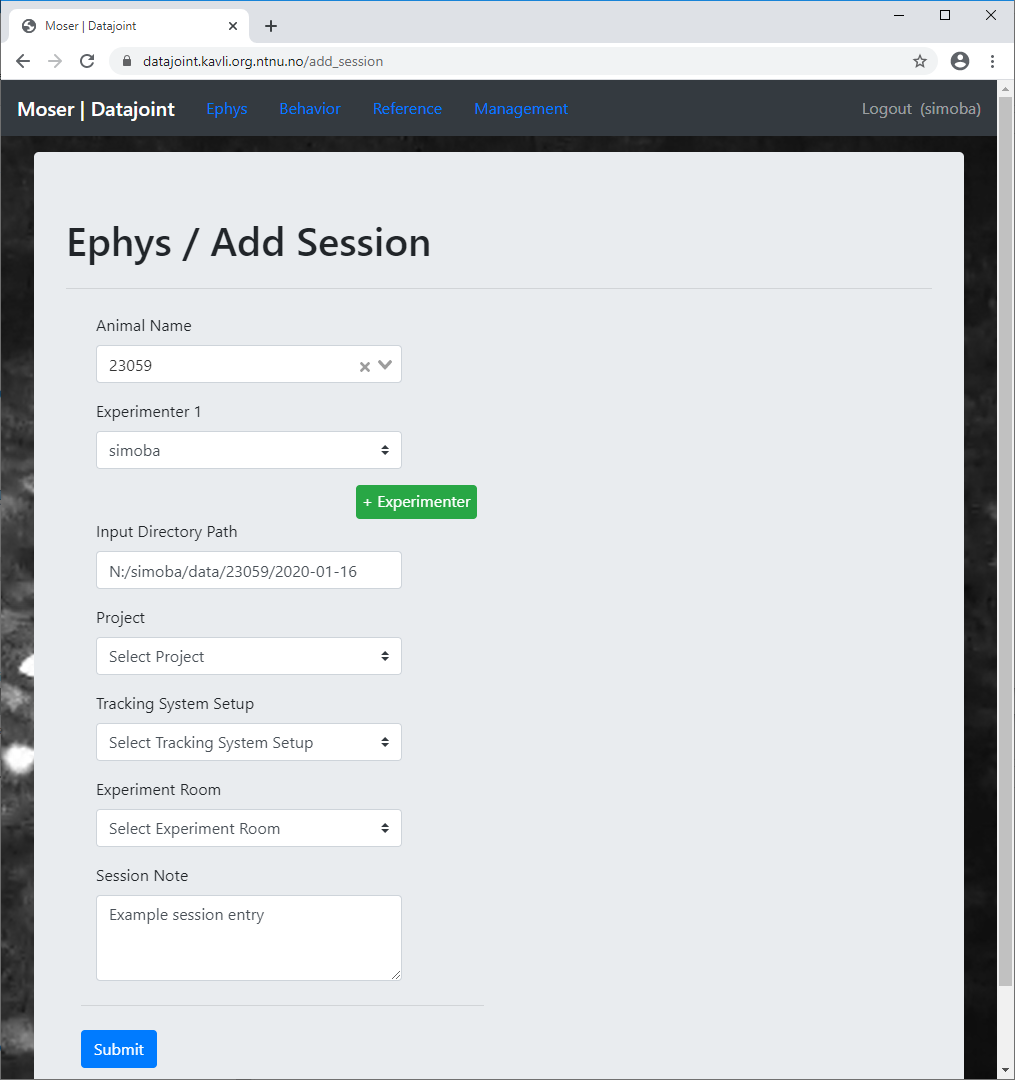
Add the Session to the pipeline
Ephys -> Sessions -> Add Session
Input directory path: Your data must be in a directory that the database worker can access and read. In general, this means that the data must be on the Moser network share (\forskning.it.ntnu.nontnumh-kinmoser). The database worker recognises this as “N-drive”, and accepts input paths given in either Windows format (N:...) or Unix format (/mnt/N/…). Even if you have that drive mounted differently on your own computer(s), the worker server expects files on the Moser network drive to be given as N:/… or /mnt/N/….
Project: this is an optional field allowing you to group multiple sessions together under one title. A session may be a member of one, many, or no, projects. This was introduced to allow, e.g., grouping together all sessions that are included in a single publication.
Tracking system setup: this is an optional field to identify a specific tracking calibration - for example, characterising the distortion and mapping of a single camera in a single room. If no such calibration is available (and it usually isn’t), calibration will be calculated automatically for you based on the details you provide about the arena in which the subject ran.
Wait for the session to be ingested
The session will be processed by a background worker. Typically, this should only take a few seconds, but if there are many active users, this might take a minute or two.
Once it has either been ingested, or ingestion has failed for some reason, the session should appear under Ephys -> Sessions -> Session Status
If the subject has multiple probe implants, then you must provide information on Probe Association. This is a specification of which recording data came from which probe.

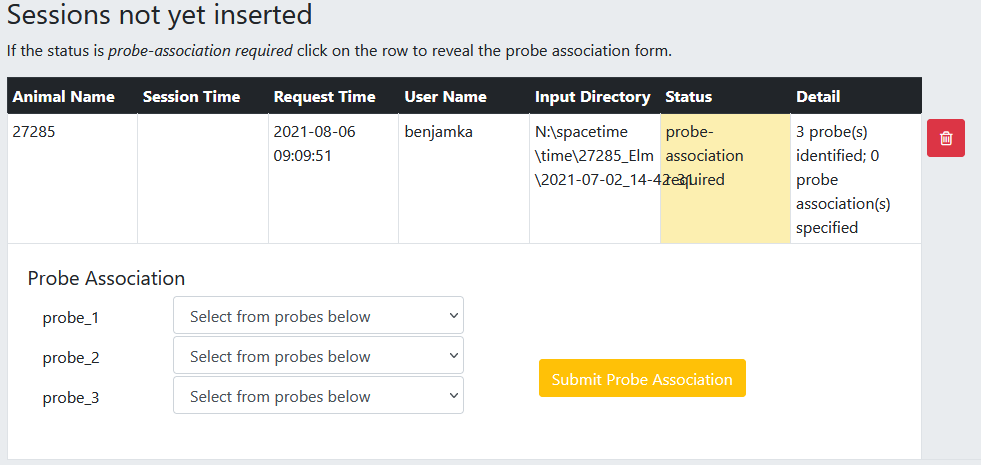
This subject has three implants recorded, and the session folder contains three data folders. User input is required to determine which implant corresponds to which data folder.
Add Tasks (see ephys terminology)
Unless a Tracking System Setup was assigned when the session was ingested, most Tracking information cannot be computed until information about Tasks are ingested
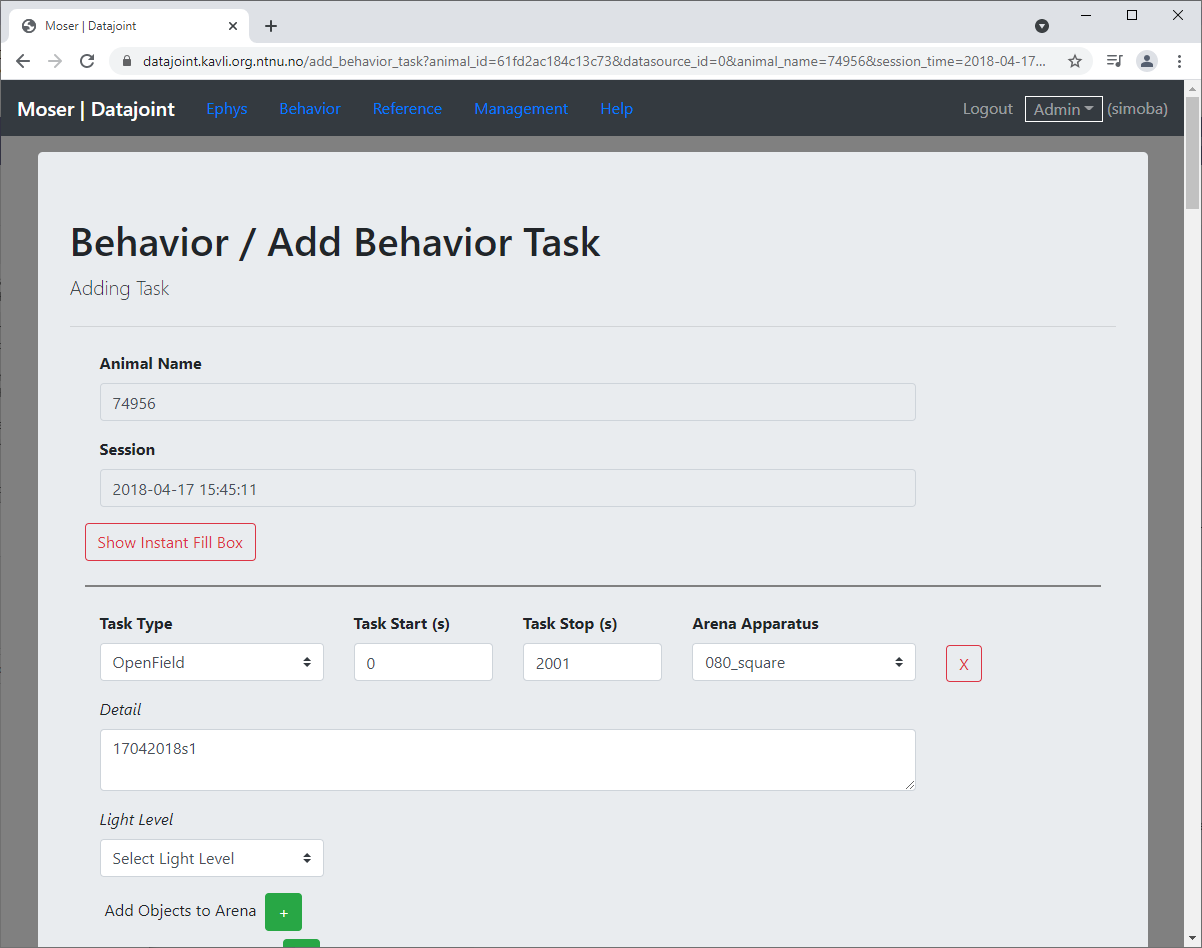
The Task ingestion page can be accessed either via Ephys -> Behavior -> Add Tasks, or via the shortcut link in the Session Status page + Behavior Task.
When the Session was ingested, the background workers attempted to infer the timing of individual Tasks, and these inferrences, if any, are pre-filled, with some inferred details.
If a
sessions.txtfile was found in the session directory, that is used as the basis for inferences (see Sessions.txt).For Neuralynx and Axona systems, individual Recordings are assumed to represent independent Tasks
Task Start and Task Stop are times, in seconds, relative to the beginning of the Session. Tasks may not overlap, but it is not required that all Session time is included inside a Task
Arena(s) and Arena objects, cue-cards etc must be created first if appropriate objects do not already exist. The dropdown menu can be searched by typing - provided you have followed naming conventions, it will be easy to find what you need.
Details is an optional free-form text entry field, allowing the user to enter a description of the task (for example, the laser power used in a photostimulation session). It defaults to the inferred detail, if any, but may be modified prioer to insertion.
Add Clustering
The Add Clustering page can be accessed either via Ephys -> Clustering -> Add Single Session Clustering menu; or via the shortcut link in the Session Status page + Clustering
Specify the Curator, i.e. which researcher ran and vetted the clustering output
Specify the Curation Time, which is used to uniquely identify the clustering results, in the case of multiple clusterings being saved
Specify the Curation Output Directory, the location where clustering output is saved. The background worker will perform a recursive search from this directory to find any supported clustering outputs. In the case of a multi-probe clustering, you should select an outer folder which will include a clustering output for each probe (see also Multiple clusterings with multiple Neuropixel probes
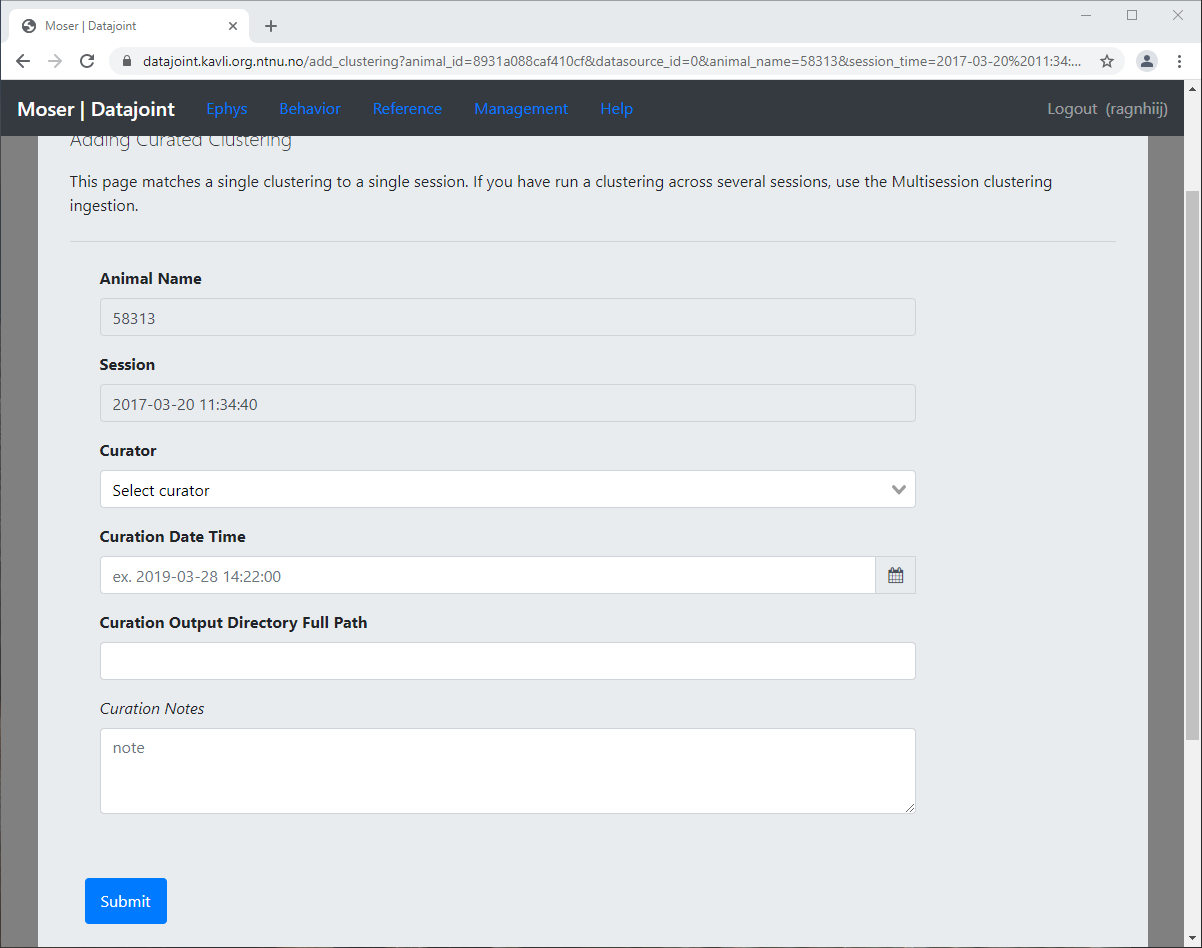
Adding single-session clustering
If you have multi-session clustering, i.e. your clustering algorithm was run over the data resulting from multiple sessions, you must add this via Ephys -> Add Clustering -> Add Multi Session Clustering instead.
Select the subject
Select all relevant sessions
Assign a meaningful group name (see multisession clustering naming)
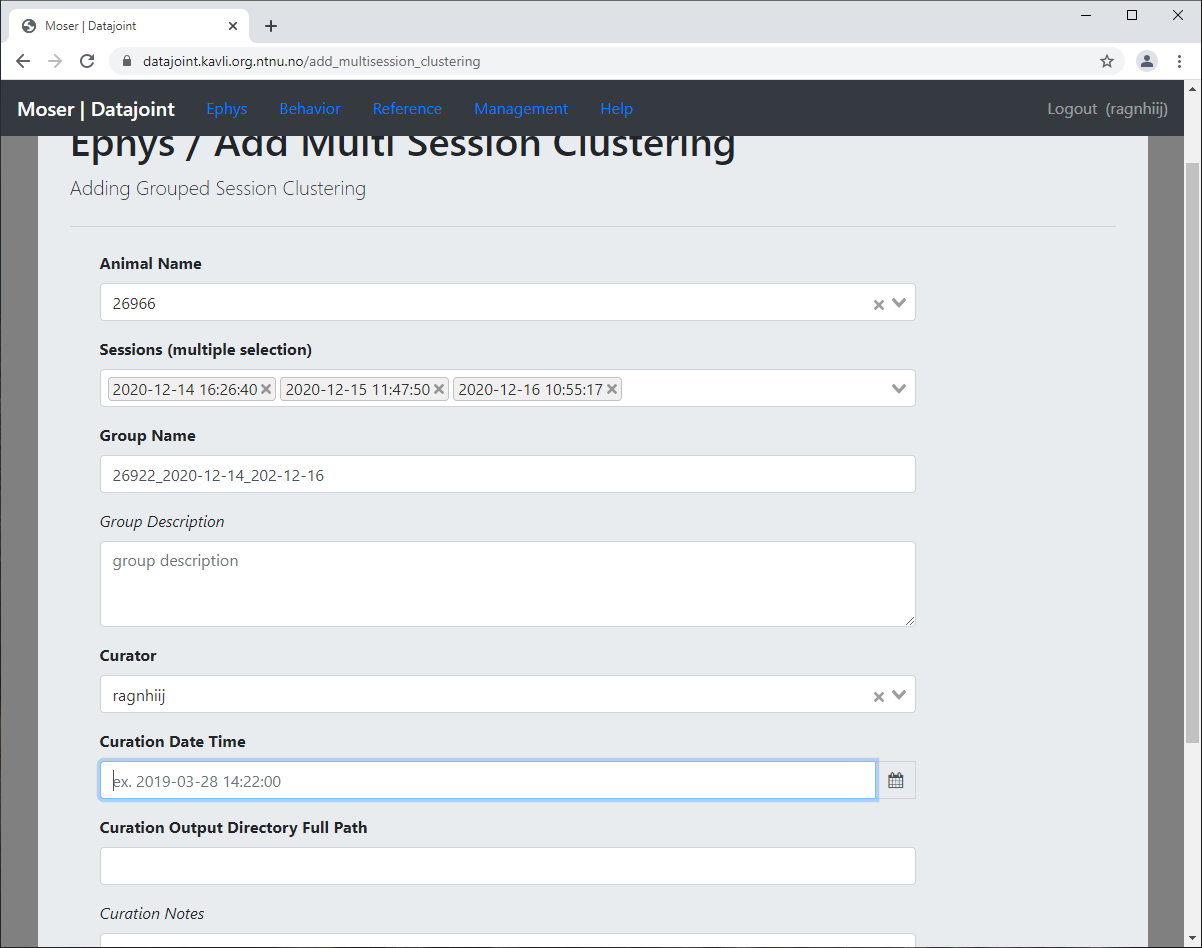
Adding multi-session clustering
Post Histology
Links to histology images can be added via Ephys -> Probes -> Add Histology.
Actual brain areas from which the probe recorded can be added via Ephys -> Probes -> Update brain area.